Sourcing Rule in Oracle Purchasing
Sourcing rule is used to automatically replenish materials in an organization or business.
Sourcing rules determine the movement of materials between organizations in a global enterprise; these organizations include the suppliers and the materials include those items made at the manufacturing organizations.
Sourcing rules determine the movement of materials between organizations in a global enterprise; these organizations include the suppliers and the materials include those items made at the manufacturing organizations.
Profile Options
- MRP:Default Sourcing Assignment Set (set the value of the assignment set where you have added your item)
- PO: Automatic Document Sourcing (Yes)
- PO: Allow Auto-generate Sourcing Rules (CREATE AND UPDATE)
- PO: Allow Autocreation of Oracle Sourcing Documents (Yes)
- MSC: ATP Allocation Method (User-Defined Allocation Percentage)
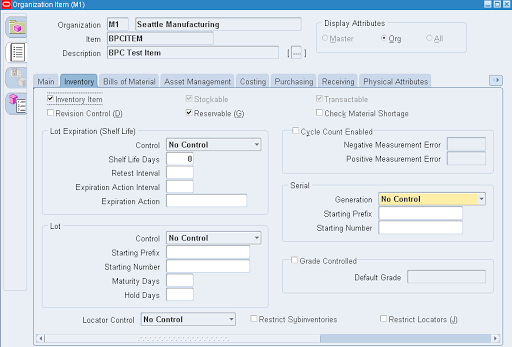
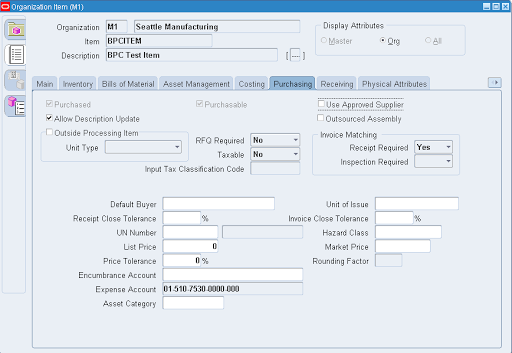
Define an Item
Noted Attributes:
- Select any Inventory Planning method
- Select the item Make or Buy
- Enter a List price
- Enter a default Buyer (this will help to assign a buyer during planning and in the requisition)


Define Supplier and Supplier Sites
You can define supplier and supplier sites as required
Purchasing –> Supply Base –> Suppliers
Defining Sourcing Rule
Purchasing -> Supply Base -> Sourcing Rule
Notes:
- You can use this rule across all orgs by Selecting All Orgs
- If you want to use in specific org, the select the Org
Shipping organization type is 3 types
- Buy From: Buying from a supplier
- Transfer From: If you want to transfer the item from another organization in your business
- Make At: This is for making the item in the selected organization
Allocation percentage: This is to identify how much % of the amount will be sourced from which org. This is helpful when you want to maintain multiple sources and want to split the sourcing amount between different sources, so you can split that by allocation%.
Master Scheduling/MRP uses these allocation percentages when creating planned orders, which Purchasing imports as requisitions through Requisition Import. In a group of requisitions imported from Master Scheduling/MRP, those requisitions show the percentage allocation you define. In other words, at the end of a planning period, orders–as a group–to those suppliers approximately equal the percentage split you defined. However, when you create a requisition in Purchasing, Purchasing sources to the supplier with the highest allocated percentage. The Approved Supplier List (ASL) entry for that supplier is then referenced in order to pick up source document information (from a blanket purchase agreement or catalog quotation), if source documents exist
Master Scheduling/MRP uses these allocation percentages when creating planned orders, which Purchasing imports as requisitions through Requisition Import. In a group of requisitions imported from Master Scheduling/MRP, those requisitions show the percentage allocation you define. In other words, at the end of a planning period, orders–as a group–to those suppliers approximately equal the percentage split you defined. However, when you create a requisition in Purchasing, Purchasing sources to the supplier with the highest allocated percentage. The Approved Supplier List (ASL) entry for that supplier is then referenced in order to pick up source document information (from a blanket purchase agreement or catalog quotation), if source documents exist
Allocation Rank: To select the sequence in which sources will be identified during planning

Sourcing Rule Assign set, add the item for the sourcing rule
Once sourcing rules are defined, now time to assign the rule to Item or organization as you need
Purchasing à Supply Base à Assign Sourcing Rules
Here you can assign the sourcing rules at 4 different levels
- Item
- Item-Organization
- Organization
- Global

Add the supplier to Approved Supplied List
This is optional, if you have checked ASL in Item attribute
Purchasing à Supply Base à Approved Supplier List


Run Min Max planning for the item
Inventory à Planning à Min-Max Planning
Submit the request for the item and make sure restock parameter selected as Yes

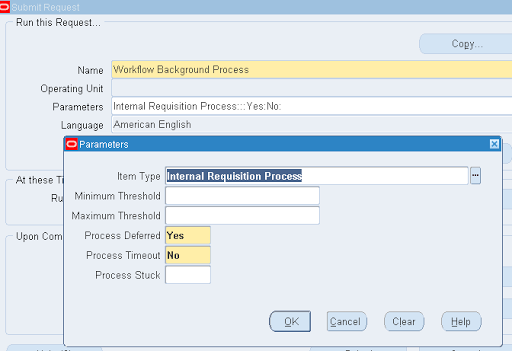
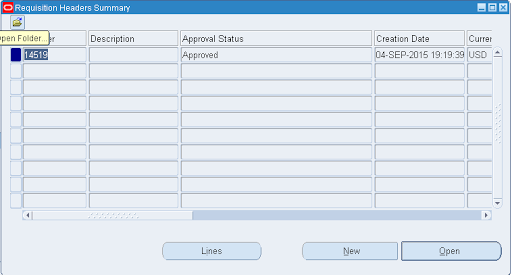
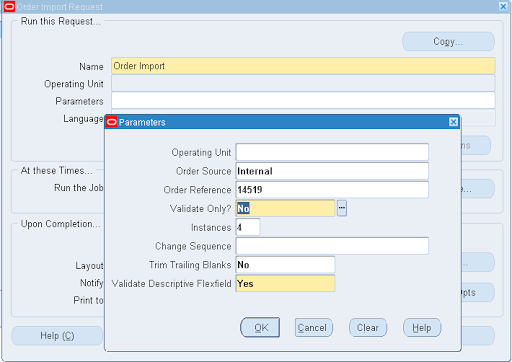
Then run requisition Import
This will create the Purchase Requisition and in turn submit the Create Releases Program which will in turn create the Purchase Order